When looking for pretty but frugal holiday gifts for teachers, friends, and neighbors (or to grace your own mantle), you need not look further than the dollar store and your own craft supplies. You can turn simple inexpensive candles into beautiful customized pieces that look great with any décor and actually look like you spent a lot more! You’ll love how easy these Homemade DIY Glitter Candles are!
This post is part of our 2016 Homemade Christmas gifts series! Be sure to check out the rest of the gifts here: 2016 Home Made Christmas Gifts.
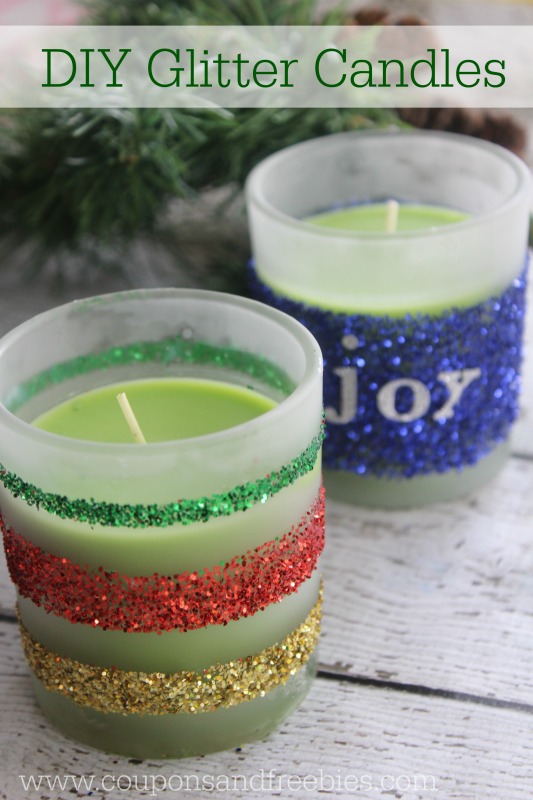
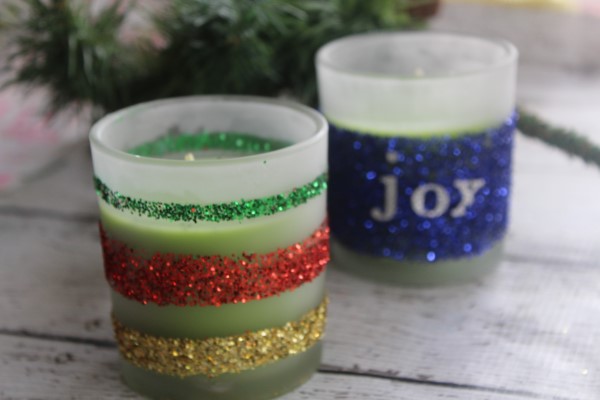
DIY Glitter Candles
Supplies for DIY Glitter Candles:
Glass jar candles
modge podge/ craft glue
fine glitter
foam brush
painters or washi tape
optional- letter stickers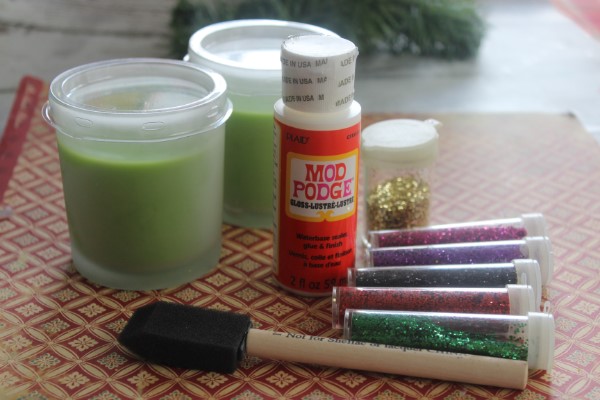
Directions for DIY Glitter Candles:
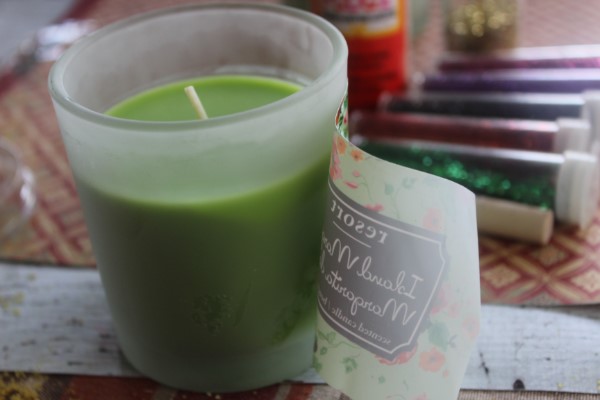
Peel the label off your jar, if you are covering the majority in glitter don’t worry about the adhesive left behind, otherwise you can remove it easily with a bit of rubbing alcohol and a cloth.
 Wrap jar in washi or painters tape to create a design. You can cover your jar in glitter if you like but I prefer to create a break in the design, leaving some at the top or bottom and even stripes.
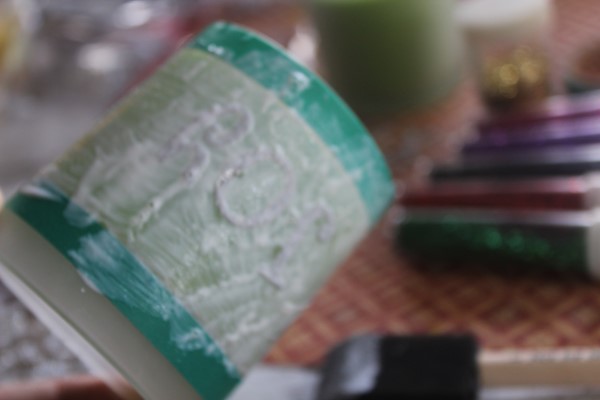
 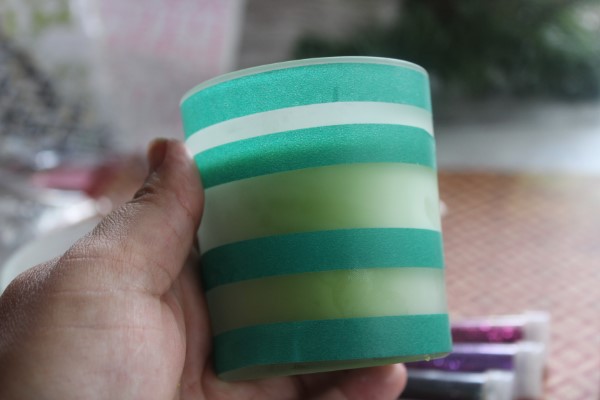 Paint the area you wish to glitter with a heavy layer of modge podge or school glue.
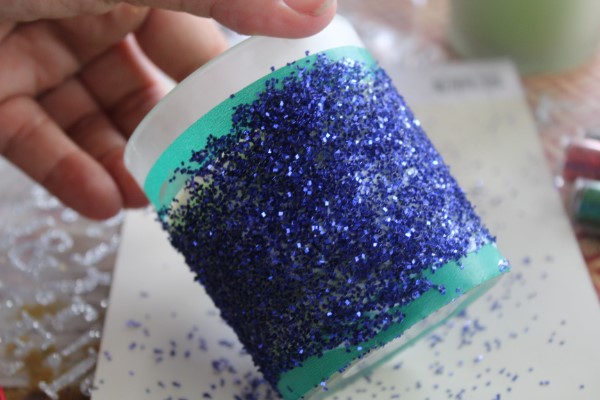
Sprinkle jar completely with glitter, if you do it over a piece of paper it is simple to pick up the excess by folding the paper and pouring the glitter back into the jar.
 Carefully peel tape off jar and allow your glue to dry completely before use.
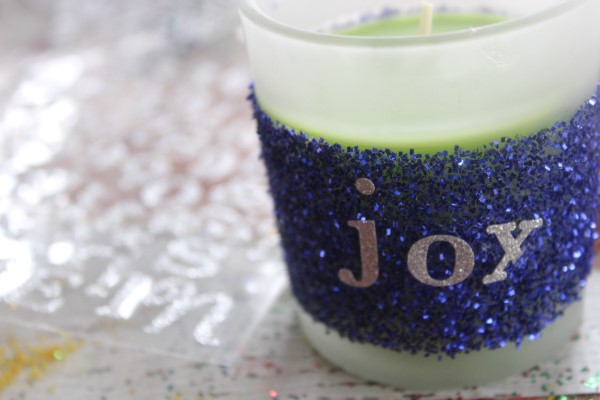
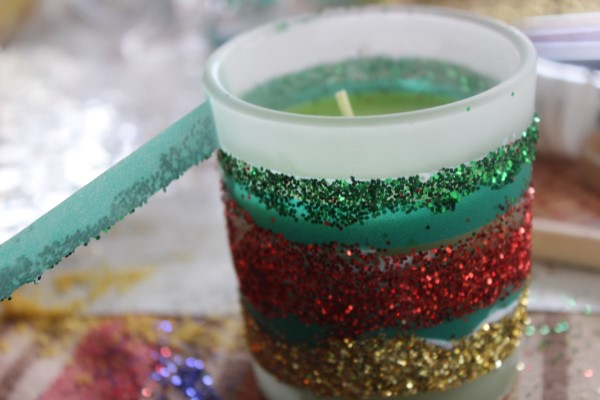 If you wish to add a little more contrast and design to your candle you can pick up some glittery alpha stickers, apply a little more glue to the back so they stick well and press in place.
These are a fun project to do with the kids to gift to teachers and grandparents, they turn out very cute with little fuss.
If you loved this DIY Glitter Candle, be sure to check out other great DIY Homemade Gift ideas in our 12 Days of Homemade Christmas Gifts 2015 series, and our 12 Days of Handmade Christmas Gifts 2014 series!